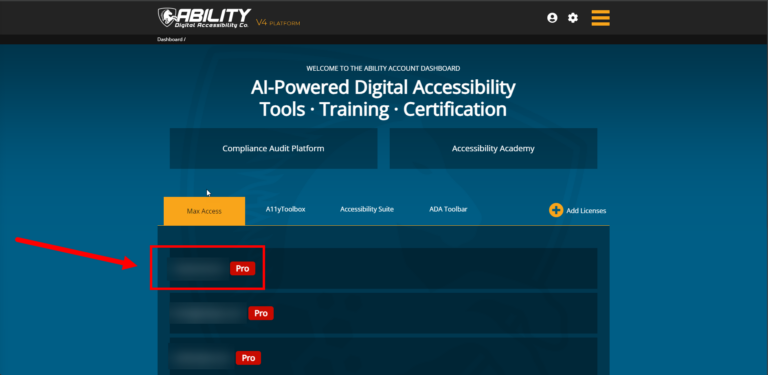
Max Access has several toolbar adjustments that can change how your website’s content looks. While in most cases these options are beneficial – particularly since it allows the user to customize their experience on your website – there are times where you may not want a specific element to be modified. One common example? Your logo!
To exclude your logo from the color contrast adjustments within Max Access, you’ll have to add a UI Class. Check out the quick 4-step process below to learn how.
Please note: this is a customization option that requires adding code elements directly to your website’s HTML. We recommend that you have a developer or someone on your team with HTML/CSS experience add this UI Class. (Looking for other ways to customize Max Access? Check out our Customizing Max Access tutorial!)
Step 4. Apply the UI Class to Your Logo
How you apply the UI Class to your logo will vary depending on several factors, including which platform you use to host your website (WordPress, SquareSpace, etc.), which theme you use within that platform (some themes have different settings), and also if you use any specialty builder tools to build your webpages.
In most cases, you’ll want to apply the UI Class to your logo within your website’s theme settings. Once you’ve navigated to your theme settings and have found your logo, you can apply the class to the html version of your logo.
If you need further assistance or have questions, please contact us.
Not a Max Access user yet? Sign up for a free account.


