As a Max Access customer, you have the ability to add multiple users to your agency account and specify the level of access each user can have. This can be a particularly handy feature for companies that share projects among teams or for companies that use multiple Online ADA products where users would need to access the Online ADA dashboard for different reasons.
The good news: adding and updating user settings is a quick and easy process!
Check out the walkthrough below for a rundown on everything you need to know about adding users and managing user access.
Navigating to User Access
To start, log into your Online ADA account — this will automatically take you to your dashboard. From there, navigate to the top right hand corner and select the Agency Settings gear icon from the header menu, then select “Users” from the dropdown menu.
Inviting New Users
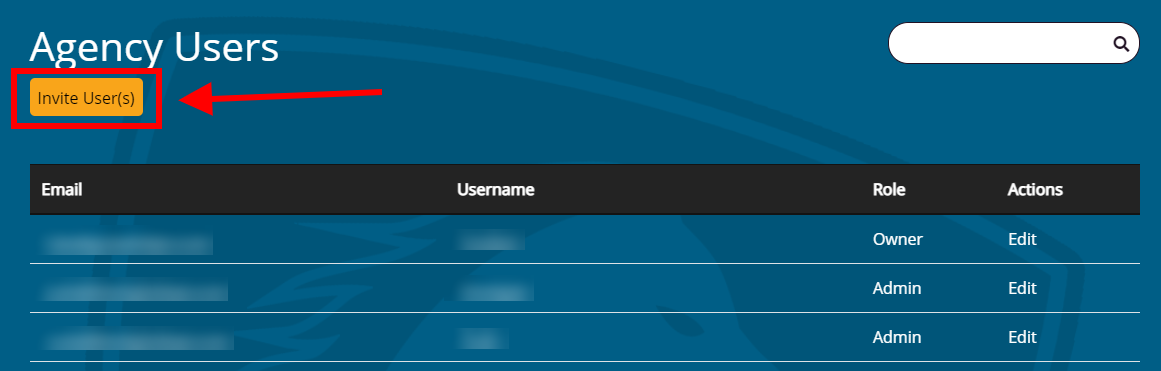
The Users section will display all current users associated with your agency account in a list that includes their email, username, and role. To add a new user, select the Invite User(s) button at the top left of the page. This will automatically open up a modal where you can add a new user’s email address.
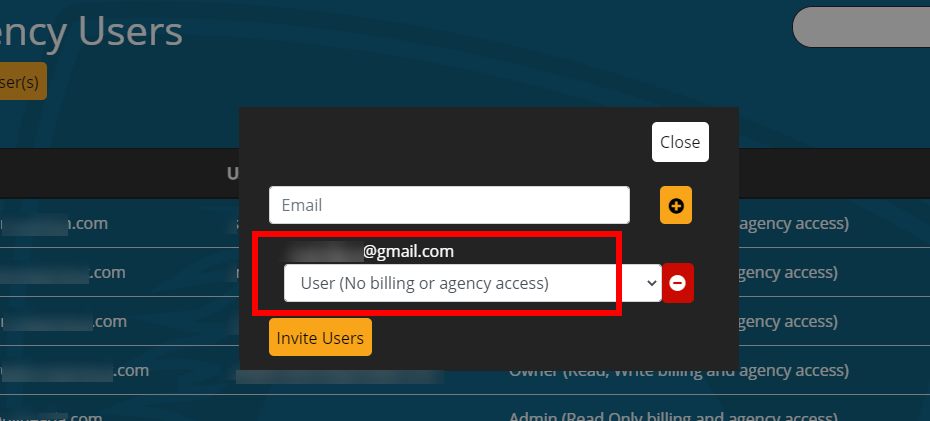
After typing in the email address, select the Validate Email Address button that looks like a plus icon (+). Please note: you must validate an email address before you’ll be able to invite a user to create an account. If the email isn’t validating, a hard refresh (Ctrl + F5) of the page can often do the trick.
If you want to add multiple users, you can repeat this process for each individual email: add one email, select the Validate Email Address button to validate it, and repeat the process for additional emails. The user emails will appear in a list as you add them.
Once an email address is validated, a second form field (shown as a select box) will appear where you can assign what type of role the user will have. There are three different roles you can assign to a new user account: Owner, Admin, or User.
Owners have full access to the account, and can read and write billing content. They have agency access, which allows them to view the Agency’s profile and update the Agency name, address, and other information. Owners will also be able to view and update all information on the account, including client information and licenses.
Admins can read billing content but cannot write it. They also have agency access and can view client information and licenses.
Users do not have access to billing content or agency access but view clients, licenses, and other content on the profile.
Once you’ve chosen the role that you want a new user to have, select the Invite Users button. This will automatically send the email address (or addresses) you listed an email to set their username and password for their new Online ADA account.
Editing User Access
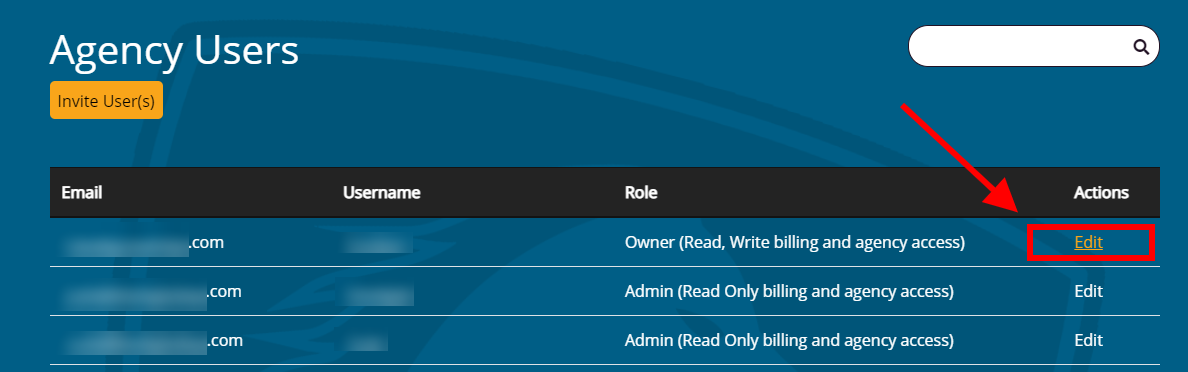
If you want to edit an existing user, navigate to the Agency Settings button in the header menu again and click the Users option. From the list of users, select the Edit button on the far right side of their user information.
Selecting the Edit button will take you to the Edit User page, where you can change their role and level of access to the account. After changing a user’s role, always remember to hit the Save button. You can also remove a user from the agency account completely by selecting Remove From Account.
Changing Your User Profile
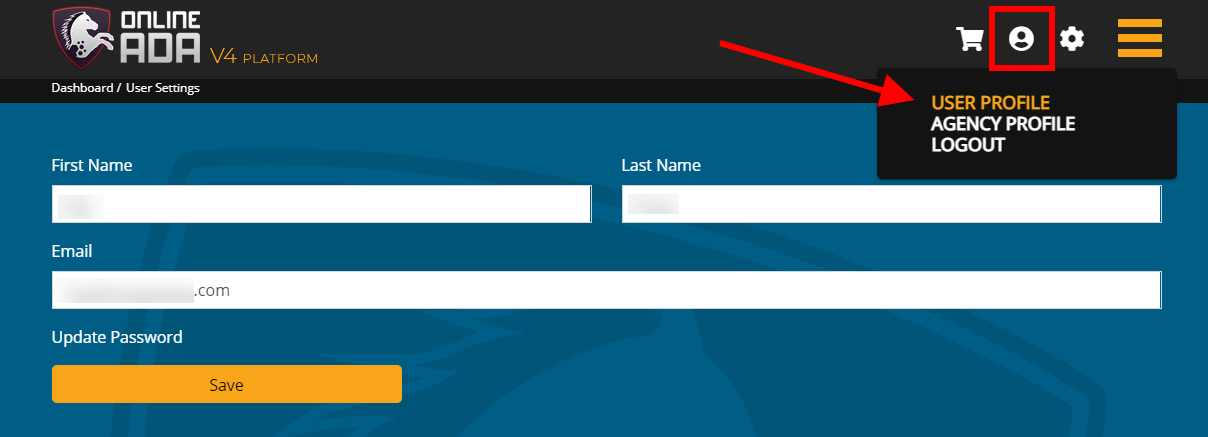
Users themselves also have the option to change their login information after their account has been set up. To do this, users should log into their account, navigate to the Profile Settings button in the header and select the User Profile option. This will open up their personal profile where the user can change all information associated with their account, including their first name, last name, email address, and password. Once updated, users should make sure to click the Save button to update the changes.